What does editing actually mean?
Have you ever wanted a behind the scenes look at what goes into creating your custom portraits? Ever wondered why it takes two to three weeks to see your portraits after your session? Today on the blog I’m giving you a look inside the digital darkroom so you can see what happens after each and every session I shoot. For me, the end of your session is just the beginning of the creative process.
Every shoot is different for the actual photography portion of any session, but when I get back to my computer after your session the process is the same for almost every type of session I shoot (people shoots and food shoots). First, all the photographs taken at your session are loaded into my computer and backed up to an external drive as an extra safety measure. Then I go through your portraits, one at a time and ditch all the ones that are clearly not keepers. Non-keepers are portraits that just didn’t turn out. The shots where dad closed his eyes, mom wasn’t looking at the camera, or I missed focus trying to capture a fast moving toddler. This first pass is the easy part. Every photo I want to keep and edit gets a star (as shown in the screen capture below). The starred photos are then moved to another folder for a second look. This is where it starts to get hard, especially when I have a ton of favorites from a session (as I often do).

The next step is selecting the best of the best from your session and making sure a variety of expressions and poses are represented in your final portraits. Notice in the selection of images below, I have a group of very similar images. Of these five I chose three to edit (the first, third and fifth), making sure each were varied enough from each other in expression since these are all of the same pose.

Next, I delve into the real meat of the editing process (also referred to as post processing). What is involved in editing anyway? Most photographers (myself included) use the term “editing” to refer to the general post processing part of photography, which is basically any and all work done to photographs after they are put on the computer. It can mean anything from basic cropping, to color correcting, to retouching. I never feel the portrait is a final image until it has been cropped, color corrected and lightly retouched. Not all photographs are cropped in post (the example shown below wasn’t). I usually try to do any cropping in camera when I compose the image and take the photograph (doing so saves a ton of time), but sometimes I feel I can tell a different story by cropping a photo in post. It all depends on the image and the story I’m wanting that image to tell. After cropping each photo in my “keepers” folder, I move to the color correction step.

Color correction ensures the colors that appear in the final image are accurate and natural. Any number of factors can affect color in an image at the time a photograph is taken. One example is green grass, which is notorious for casting a green color on skin. But what about all those photographs of people in lush green fields? With color correction, these green tones can be balanced out and removed. Without color correction, this green color cast will show up in your final portraits and make your skin look green (not a good look for most people). Color correction is also connected to the printing process of your portraits. Have you ever gotten a print back from Walgreens and wondered why your family looked blue? This is typically the result of either a lack of color correction, or incompatible color correction. When color correcting portraits, photographers make adjustments based on the the labs they use for client orders. All labs are different, so it is the professional photographer’s job to make sure their computer screens are calibrated with the printers used at their chosen lab. This ensures accurate and beautiful colors with every print order. All photographic papers and inks are also different depending on the lab. Inks used at big box store labs will have a shorter shelf life than inks used at professional labs. The more color fast the ink, the longer your photograph will last. Color correction is an important step, but it doesn’t finish the job.

The final step in my editing process is light retouching. Retouching is what gives your portrait that extra sparkle. My retouching process includes removal of blemishes (only those that are clearly temporary…I never remove birth marks or scars unless asked to do so by my clients) and any stray hairs that I feel are distracting to the face, lightening of dark circles under eyes, softening of wrinkles (only if my client has expressed concerns about this) and gentle whitening of teeth. I go over each portrait carefully making these cosmetic adjustments, ensuring my clients look their best. After cosmetic edits, I make any creative adjustments that are needed to bring what I saw in my mind when I created the photograph to life. This part is the most fun because it’s when I can actually see the finished portrait come together and I know the photographs are almost ready to be delivered to the client.

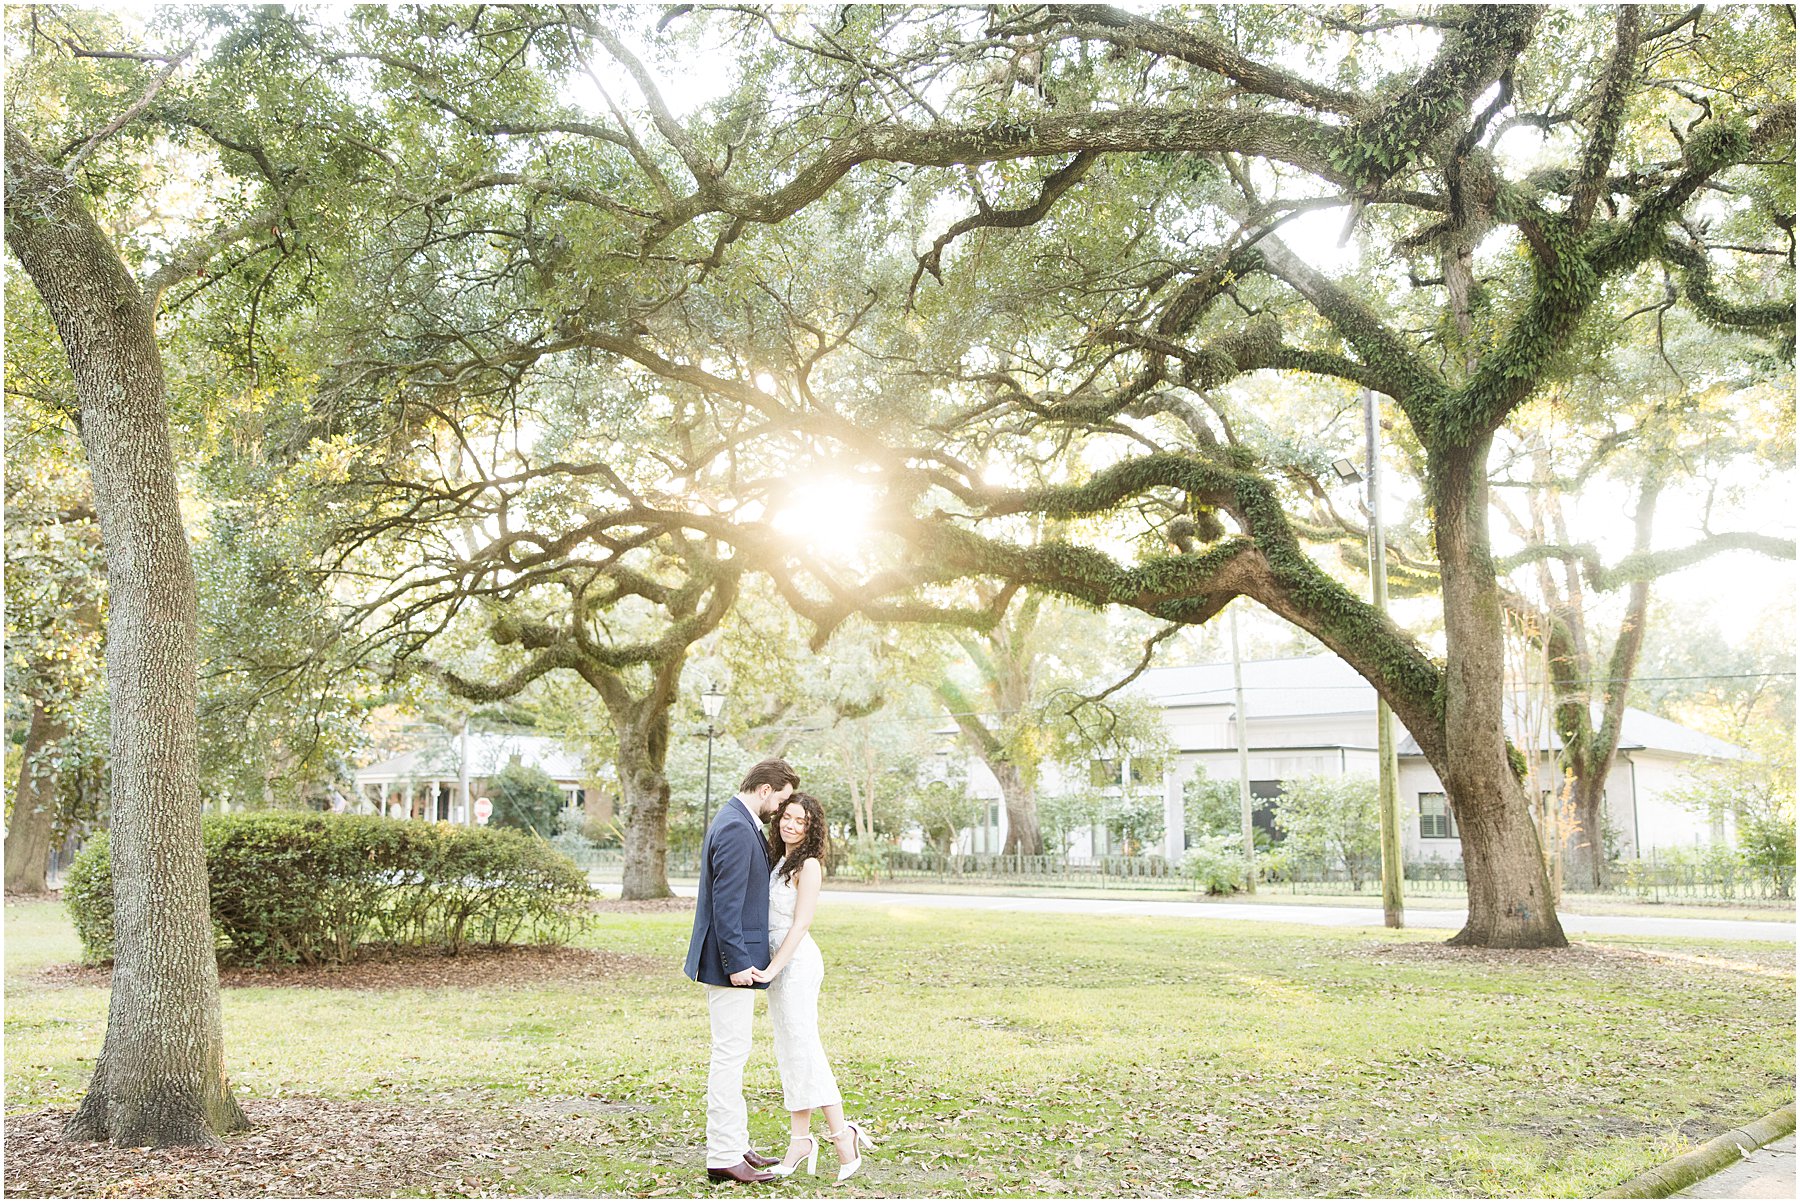
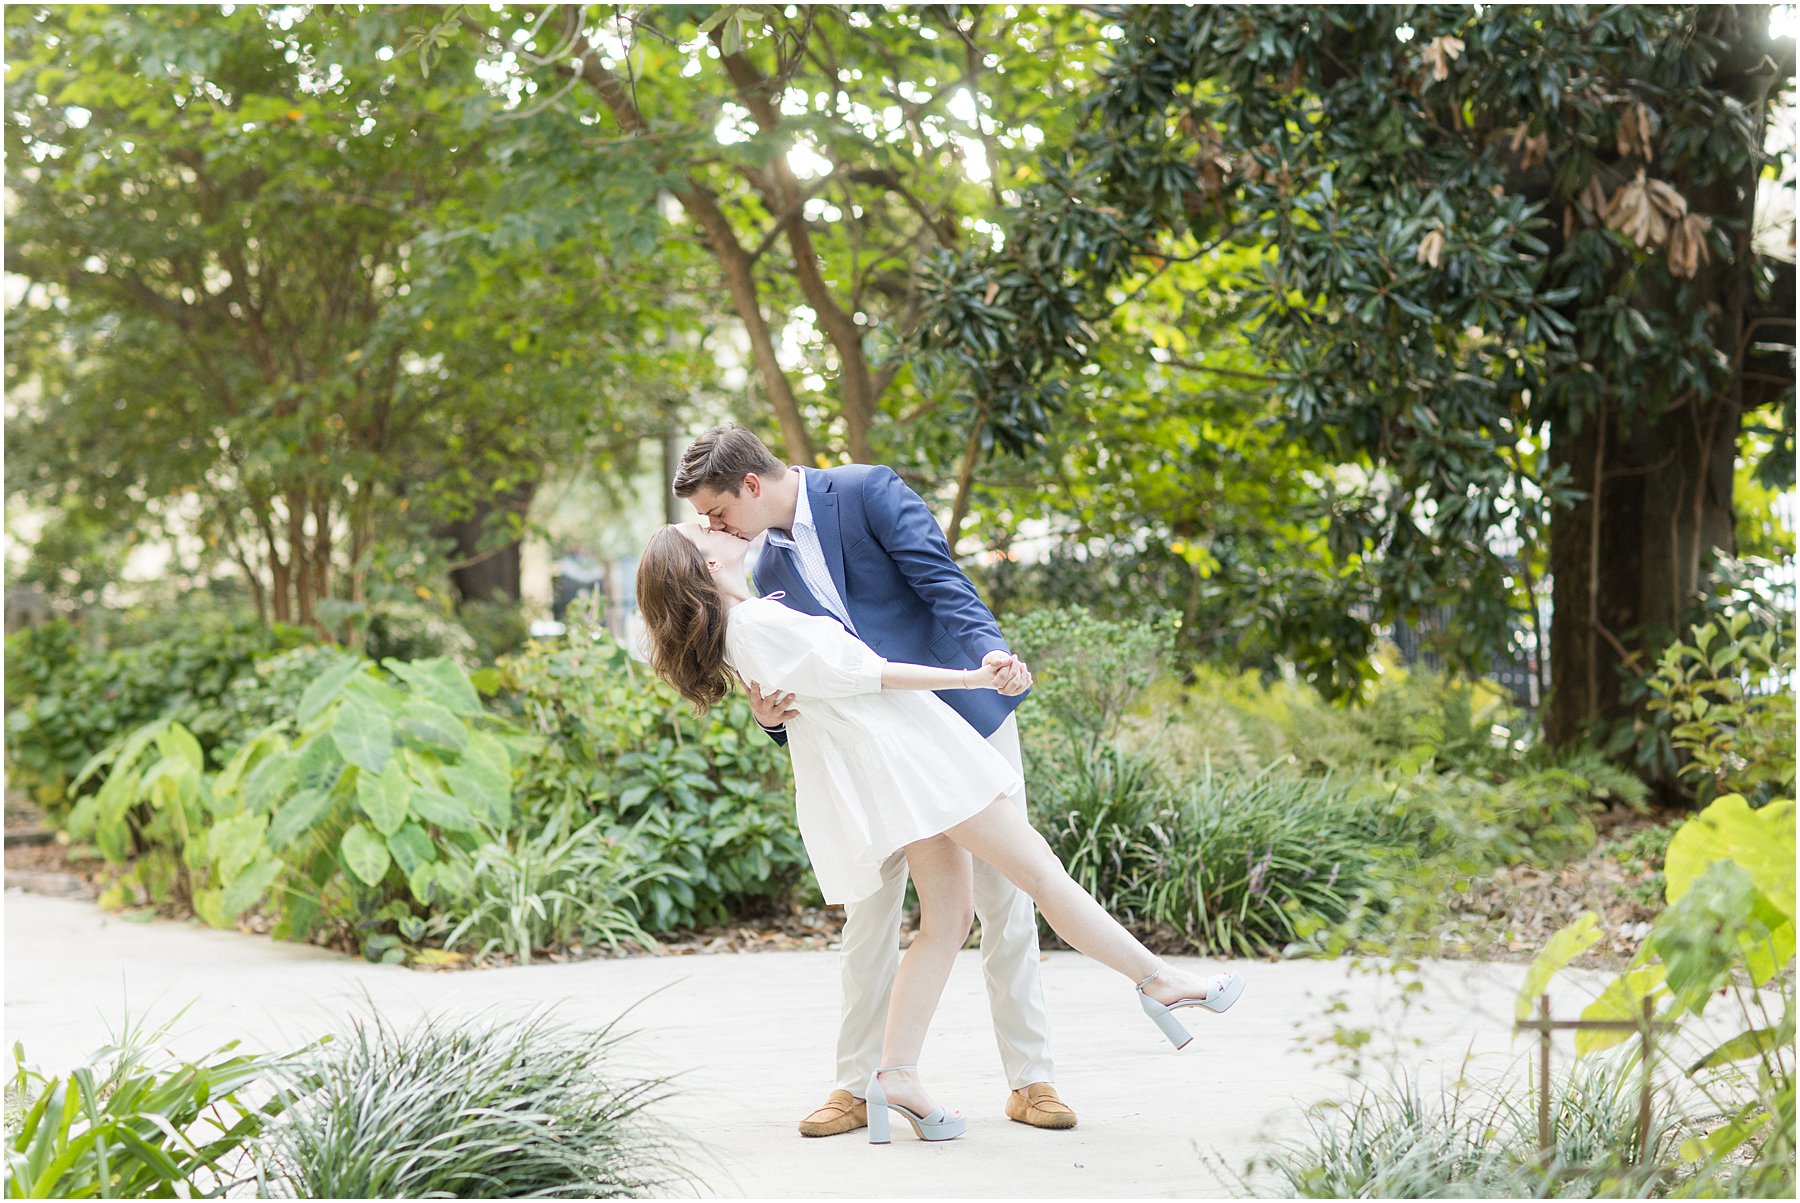
Sometimes the portraits look pretty close to how they looked when they came right out of the camera (as in the example images above), but sometimes there is quite a difference in the before and after. It all depends on the light, what my vision was and the client. Finally, after going through each photograph and making the adjustments described above, your portraits are ready to be presented to you. All the hours that go into the post processing portion of the session often go unseen, but they represent the bulk of the time spent creating your portraits. I love when clients gasp or cry when they see their portraits. It means I’ve done my job and captured something special for them, which is what makes photography so fulfilling.
P.S. I have to give a shout out to my awesome and stylish sister who graciously agreed to let me use her portraits for the before examples! Thanks Katherine! 🙂
add a comment
+ COMMENTS